As an Amazon Associate I earn from qualifying purchases.

Liquid eyeliner has the particularity of being super versatile, allowing you to create subtle but very notorious and different looks. But, they may be a little hard to master. In the following post, I will teach you about how to properly apply your liquid eyeliner without making a mess, even if you are a beginner!
We will not mention any particular brand, but the norm is that there are two main types of liquid eyeliner that you can find anywhere: Felt tips eyeliners; meaning that there is a single focus point at the tip, and brush tip eyeliners; which have many focus points on their tip. We will explain them more thoroughly below.
Felt tip eyeliners
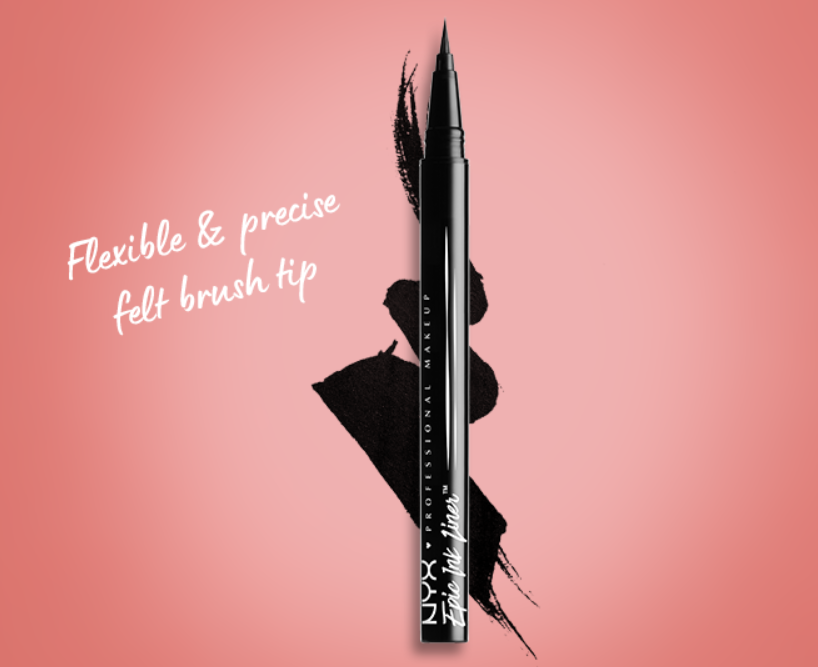
The tip is stiff, so be careful not to hurt your eye. They are mainly used for creating winged lines. They also have the benefit of being able to handle much darker pigments, meaning that the color will stay longer and appear darker in your skin than with a brush tip one. As it’s very easy to use, resembling a pencil almost, it’s highly recommended for people that are just starting and do not know yet how to control the eyeliner properly to start with a felt tip and just after a few weeks of practice step up to the brush tip ones.
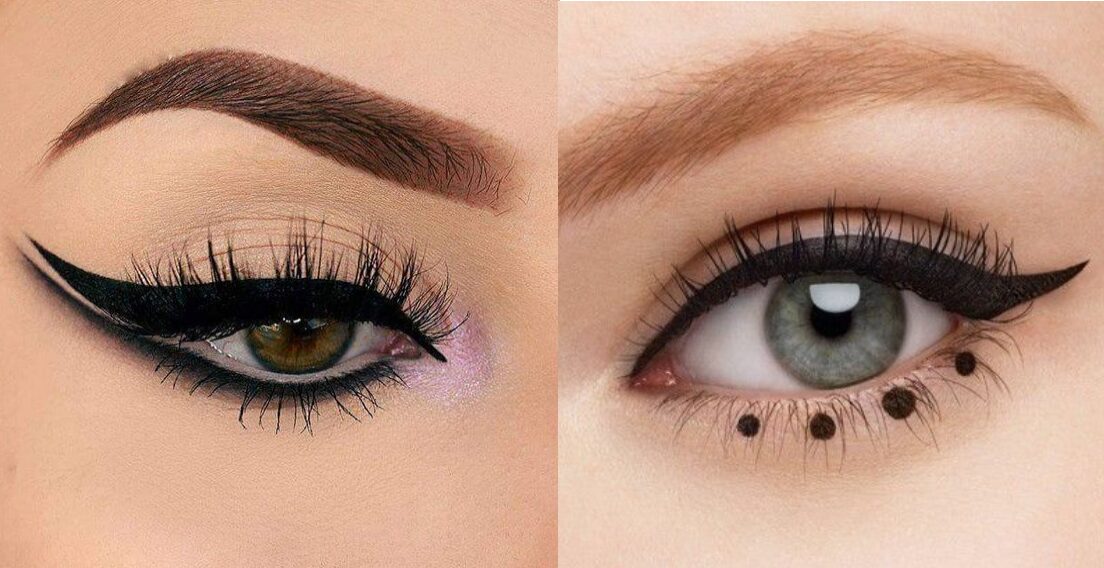
This kind of eyeliner will give you a sharp and defined look, but if you are looking for something more subtle then you should try with.
Brush tip eyeliners
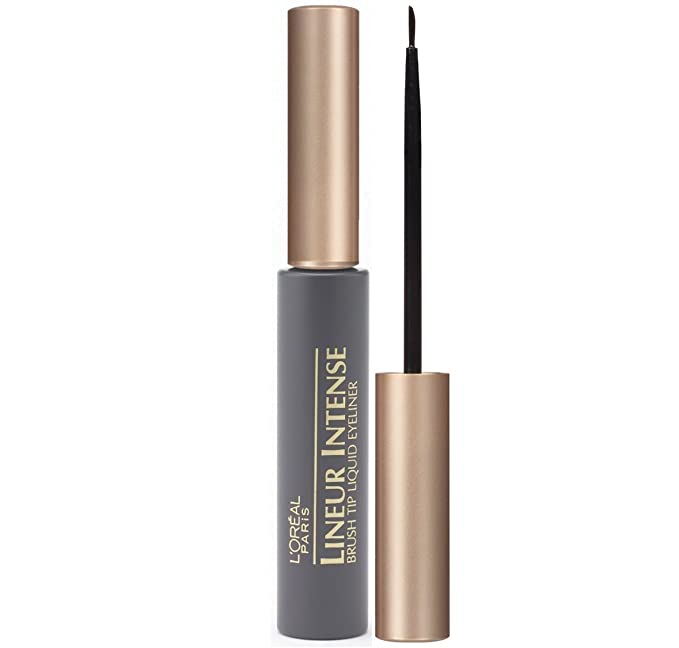
They are like a paintbrush; they have many bristles that individually apply the color. Just like it’s harder to paint on a canvass with a brush than with a pencil, they are a bit trickier and can be overwhelming if you do not know the basic techniques.
But the difference is quite important as well, they allow you to make much more light tones and subtle changes of color, you can also use them to create lines that change in its thickness, giving them an elegant final touch.
We have already discussed what each tip is good for, but not how to use them properly per sé. If you are just new to them or looking to improve a little bit your technique, here is how you use your eyeliners a good way. But do remember, both tips are useful and both tips are mainly targeting a specific look.
The Beginners method
- It goes by the name of the “Connect the Dots” technique, and it’s not much more difficult than that. First of all is advised that, even if you do not have shaky hands, you rest the elbow of the arm you are using to apply the eyeliner on a flat surface. Now we can start:
Hold the eyeliner like you would hold a pencil, and place your pinky finger on your cheek while pulling super gently downwards. - Now you can start making little dots or dashes, whatever you find more comfortable, as close to the lash line as you can. For this we advise that you have a clear view in front of a mirror, do not use your phone’s reflection or camera just yet because it’s not very easy at first.
- Only when you have reached the end of your upper lash line, you can extend the dotted line as far as you’d like, curving it a little bit upwards. It is much easier for many girls to start with the inner part of the eye and go away from them, than starting by the tip of the wing and going inwards.
- Now using short and very light strokes start to connect the dotted line. It is very important that you do not hurry this part, as if you use too much force you may ruin part of the line and need to clean your skin and start again. Continue going up the line until you reach the end. The only thing you should keep in mind is that you can always grow the line thicker or further up without any issues, but doing the reverse is a little more complicated. So go easy.
- When you are done, apply a little bit of eye shadow of a similar color so that the line does not change, and some mascara as the finishing touch.
And you should be done by now!
If you find this way too easy and want to step up your game a little bit, I bring you
The Intermediate method
If you already have some practice using liquid eyeliner this is going to be easier, as your hand already knows the way it should move and you are more aware of the force you should use to get the tone you are looking for.
This technique goes by the name of the “Inside-Out”, so let’s see how to nail this one as well.
- Once again, it’s advised that you try this while resting your elbow on a flat surface and preferably in front of a mirror, but if this is not your first time you can even use your phone’s camera as a mirror by now.
- Looking ahead or tilting slightly your head aside, however, you are most comfortable, start to draw a single line just from the top of your lash line that goes toward the outer corner of your eye. Remember to be gentle with it.
- Draw another line that goes from the center of the lid out, but now you are trying to create the form of a little triangle. This means that the line you create will need to be at a slightly steeper angle than the first one.
- Now you can fill the space between those two exterior lines with strokes from the inside out, as the name of the technique says.
- Now finally as before apply some eye shadow wherever you find it’s necessary and end up with mascara.
See how it wasn’t that hard after all? With just a little practice you will find yourself more comfortable doing your eye lines without even needing a mirror or to rest your elbow, just bringing it close to your chest would do the trick.