As an Amazon Associate I earn from qualifying purchases.

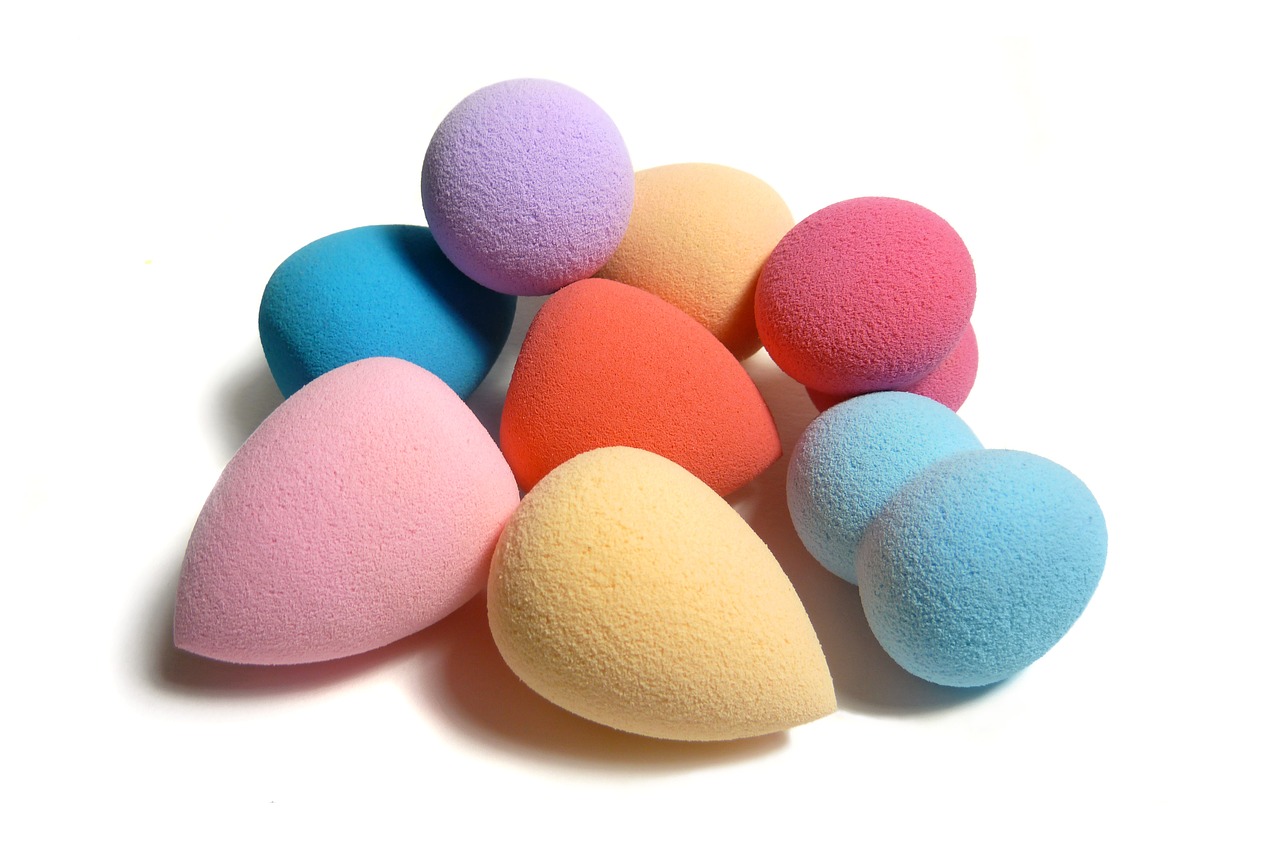
There are some sponges that are made for just one use, but your beauty blender or another more expensive type of sponges are made to last a little longer! But you are going to need to treat them well in order to get there.
In this post, I will teach you how to properly clean your makeup sponge or beauty blender, and by the end, you will realize that it´s not a big deal after all! Making you save from the horrible situation of finding yourself without a clean sponge just before going out, and meanwhile also saving some money and time.
Simple washing
It may be surprising to hear that with only warm water and soap you can clean your sponge or beauty blender in most cases. You can use hand soap or even shampoo, just do not use dish soap because it may irritate your skin later. You are not made of metal!
Step 1)

After putting the two main components in a little vase or dish and mixing a little to make sure everything is well blended together, simply put the sponge there and squeeze it a couple of times to make sure the middle of the sponge gets soaked as well. Wash your hands afterward. You will need to leave the sponge there for somewhere between 15 and 45 minutes before coming back to it.
You must expect the water to change color to a beige or brownish tone, that´s because all the makeup has leaked from the sponge into the water. After this, you will find that your sponge is still dirty in some places. That´s fine, now all that cosmetics is much easier to remove thanks to the previous step.
Step 2)

Take some, preferably, liquid soap or shampoo (Or, if you have it, some blender cleanser) and gently rub the dirty sides of your sponge with the tip of your fingers. I will mention again to be gentle on it, as the sponges are quite fragile and you can damage them if you are in a hurry. You can do this for no more than 5 minutes before your sponge becomes almost fully clean, but you still need to do one more step.
Step 3)
Now, put the sponge under warm running water to clean the remaining soap that has been left, as well as the cleaning products you may have used. When the color of the running water becomes clear enough, you can remove the sponge and let it dry for a few minutes or hours, depending on how much in a hurry you are. We do not recommend putting the sponge on the sun as it can start to break it, but giving it a fast run with your hairdryer can be enough to use it at the moment. Using some paper towels and squeezing it can also be a good way to speed up the process.
You need to be sure that the sponge is well dried before using it again, as the water left inside can change the properties of the makeup you are applying.
Deep cleaning
Now, if you followed the previous step but find out that the water that came out of your sponge was still dirty, or by just looking at it you said – Nope, this is not simple – this is how you should proceed.
Step 1)
Once again, you must begin by soaking your sponge. You do not need soap or leaving it for 30 minutes, just leaving it in a bowl for 5 minutes or squeezing it a couple of times under running warm water will do the trick.
Step 2)
Apply cleanser to the dirty areas directly. I have to recommend using a proper blender cleanser here, but you can also use baby formula or castile soap. Remember to be gentle as to not break or damage the sponge at any point.
Step 3)
Now you need to rub the sponge against your palm for somewhere around 30 seconds per application of cleanser. Do that as many times as you think it´s necessary. Your palm will surely become tinted with the cosmetics lying inside the sponge but do not worry as they are super easy to remove afterward. You need to be a little… less gentle, on this process, but still, be careful as to not break the sponge at any moment.
Step 4)
Tired already? Well, you still need to squeeze for a few more minutes. Now place the sponge under running water again and repeat this process a couple of times, squeezing and letting the sponge refill with water until all of the soapy product leaves the sponge. If you think that you have not done the previous step enough times you can go back and repeat it before continuing with this. You are truly done when the water that comes out of your sponge is perfectly clean and there are no odors left.
Now you can dry your sponge with your hairdryer, paper towels, or simply letting it rest there for a few in a well-ventilated area.
I recommend you to do this more intense cleaning process at least twice per month, as to not make it much harder in the future, and because if you leave your sponge without proper care for too long it will become cracky and it will stop being useful.
Extra tip
You need to clean your sponge regularly, but also be sure to remove possible bacteria from it as well. How you do this? Just as you would remove bacteria from water or milk. You can put it in some water and let it boil for a few minutes. Otherwise, you can put it for 30 seconds in the microwave (Caution. If you use your microwave, you need to put the sponge SOAKED and in a bowl with more water. If not, it may catch fire)